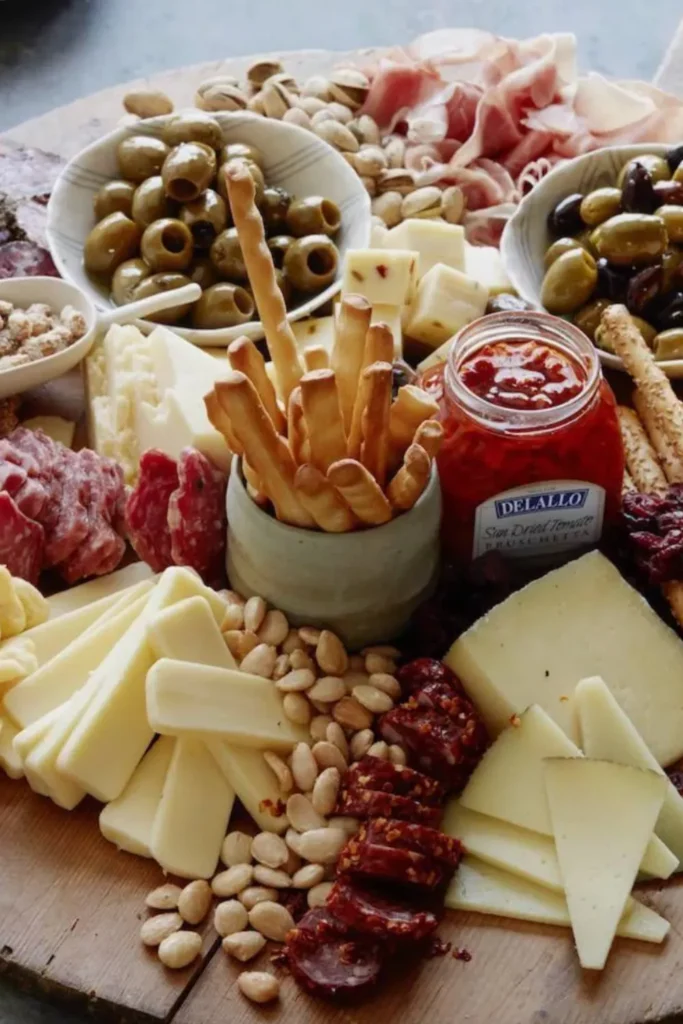
When it comes to easy and impressive entertaining, meat and cheese trays are a top choice. They are versatile, crowd-pleasing, and can be tailored to suit any occasion. Whether you’re hosting a casual get-together or a formal party, a well-assembled meat and cheese tray is sure to be a hit. Let me guide you through the process of creating the perfect tray, and share some helpful tips along the way.
Introduction to Meat and Cheese Trays
Meat and cheese trays are a staple at many gatherings, thanks to their versatility and appeal. They can be customized with a variety of meats, cheeses, and accompaniments, making them suitable for everything from casual picnics to elegant soirées. One of the best parts about these trays is that they are easy to prepare ahead of time, allowing you to enjoy your event without stress.
For a great resource on pairing cheeses with various foods, check out this Cheese Pairing Guide.
Selecting the Ingredients
The first step in creating a fantastic meat and cheese tray is selecting your ingredients. Here are some suggestions:
- Meats: Salami, ham, turkey, roast beef
- Cheeses: Cheddar, brie, gouda, Swiss
- Optional Additions: Crackers, olives, nuts, fruits
Feel free to experiment with different types of meats and cheeses to find your perfect combination. For inspiration, explore this Artisan Meat and Cheese Platter.
Essential Tools and Equipment
Having the right tools can make assembling your tray much easier. Here’s what you’ll need:
- Serving Trays or Boards: Choose ones that are large enough to hold all your ingredients.
- Knives and Utensils: Ensure you have appropriate knives for cutting and serving the meats and cheeses.
- Storage and Preservation Tools: Use airtight containers to keep your ingredients fresh until serving.
Preparation Tips
Proper preparation is key to a beautiful and tasty meat and cheese tray. Here are some tips:
- Slicing and Arranging: Slice the meats and cheeses thinly for easy eating. Arrange them in an appealing pattern on the tray.
- Keeping Fresh: Prepare the tray close to serving time to maintain freshness, or store pre-sliced ingredients in airtight containers if prepping in advance.
- Presentation: Use garnishes like fresh herbs, edible flowers, or small bowls of nuts and olives to enhance the tray’s visual appeal.
Assembling the Tray
Now that you have your ingredients and tools ready, it’s time to assemble the tray. Follow these steps for a balanced and visually appealing presentation:
- Arrange the Meats: Place the meats in clusters around the tray, alternating types for variety.
- Add the Cheeses: Position the cheeses next to the meats, again alternating types and shapes for interest.
- Include the Extras: Fill in any gaps with crackers, nuts, olives, and fruits.
- Garnish: Add some fresh herbs or edible flowers for a touch of color and freshness.
Serving Suggestions
To elevate your meat and cheese tray, consider these serving suggestions:
- Pairings: Offer a selection of wines, beers, or non-alcoholic beverages that complement the flavors of the meats and cheeses.
- Portions: Plan for about 2-3 ounces of meat and cheese per person.
- Replenishing: Keep extra ingredients on hand to refill the tray as needed throughout your event.
Customizing Your Tray
One of the best things about meat and cheese trays is their flexibility. Here are some ideas for customizing your tray:
- Dietary Preferences: Create a vegetarian tray with a variety of cheeses, nuts, and fruits. For gluten-free options, use gluten-free crackers.
- Regional Themes: Tailor your tray to a specific cuisine, such as Italian with prosciutto, mozzarella, and olives, or French with brie, camembert, and grapes.
- Seasonal Ingredients: Incorporate seasonal fruits and vegetables to add freshness and variety.
FAQs about Meat and Cheese Trays
How far in advance can I prepare a meat and cheese tray? You can prepare most of the tray a few hours in advance. Keep the ingredients covered and refrigerated, and add any last-minute items like crackers just before serving.
What are the best storage practices for leftovers? Store any leftover meats and cheeses in airtight containers in the refrigerator. They should stay fresh for a few days.
Can I create a budget-friendly meat and cheese tray? Absolutely! Opt for less expensive meats and cheeses, and use seasonal fruits and homemade additions like spiced nuts or pickled vegetables to keep costs down.
What are some creative presentation ideas? Use a variety of trays and boards, such as wooden boards, marble slabs, or even baking sheets. Create height by stacking cheeses or using small bowls for nuts and olives.
How do I ensure food safety when serving? Keep cold items chilled until just before serving. Use separate utensils for each type of meat and cheese to prevent cross-contamination.
Final Thoughts
Creating a meat and cheese tray is a fun and rewarding activity that can make any event special. With a little planning and creativity, you can assemble a tray that not only tastes amazing but also looks beautiful. Whether you’re a seasoned entertainer or a first-time host, a well-crafted meat and cheese tray is sure to impress your guests.
For more festive recipes and ideas, check out these delicious Easter cake pops and Passion fruit martini


