


Discover the Irresistible Layers of Slutty Cheesecake Bars
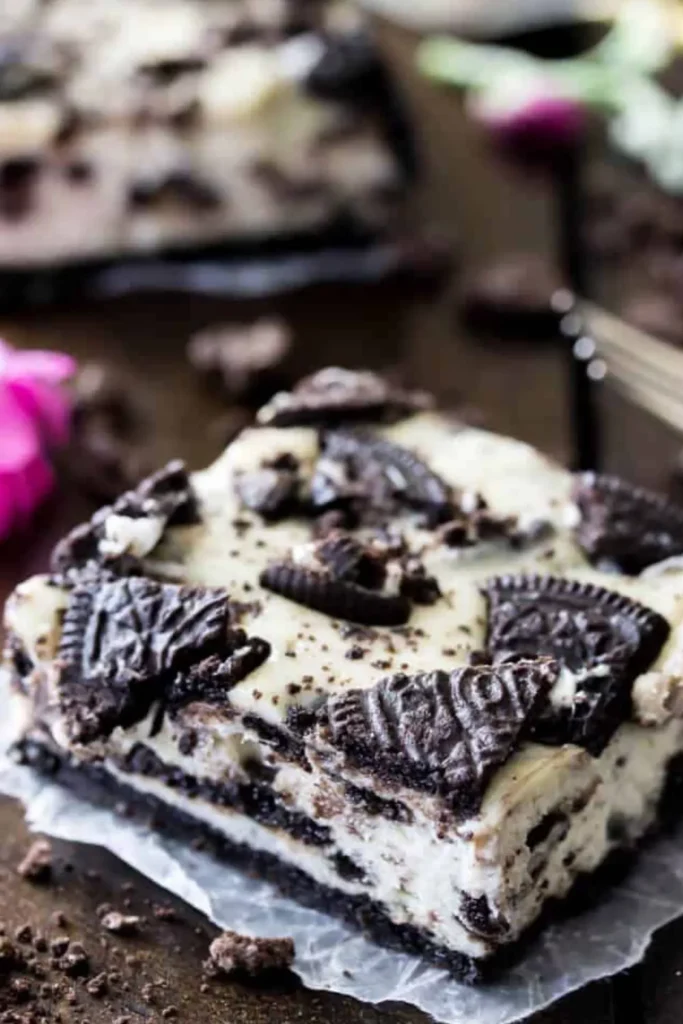
Slutty Cheesecake Bars are a decadent dessert that combines multiple textures and flavors into one delicious treat. The name might raise eyebrows, but it aptly describes the over-the-top indulgence of these bars. Originating from the playful combination of cookies and cheesecake, they are perfect for those who believe more is definitely better when it comes to desserts.
What Makes These Bars Uniquely Tempting?
These bars are a triple threat with layers that include a chewy chocolate chip cookie base, crunchy Oreos, and a smooth, creamy cheesecake topping. Each layer complements the others, creating a dessert that’s as fun to make as it is to eat. For a more in-depth look at no-bake versions of similar treats, you can learn more about no-bake desserts.
Ingredients You’ll Need
For the Cookie Layer
- Unsalted butter – softened
- Light brown sugar and granulated sugar
- Eggs (1 whole + 1 yolk for extra richness)
- Pure vanilla extract
- All-purpose flour, baking soda, and salt
- Chocolate chips
- Oreos
For the Cheesecake Layer:
- Full-fat cream cheese – room temperature
- Granulated sugar
- Eggs
- Pure vanilla extract
- Sour cream
- Oreos, crushed
Step-by-Step Guide to Making Slutty Cheesecake Bars
- Prepare the Oven and Pan:
- Preheat to 350°F (175°C).
- Grease a 9×9-inch baking pan and line with parchment.
- Cookie Layer:
- Cream together butter and sugars until fluffy.
- Mix in eggs and vanilla, then fold in dry ingredients and chocolate chips.
- Press the dough into the pan and layer with Oreos.
- Cheesecake Mixture:
- Beat the cream cheese and sugar until smooth.
- Add eggs, vanilla, and sour cream; mix until just combined.
- Fold in crushed Oreos and pour over the cookie base.
- Bake and Cool:
- Bake for 25-30 minutes until the center is set but slightly wobbly.
- Cool in pan on a wire rack, then refrigerate for at least 3 hours.
Customizing Your Cheesecake Bars
Experiment with different cookies and toppings to make these bars your own. If you’re a fan of coconut, consider trying our Coconut Cheesecake Recipe for another delicious variation.
- Variety of Cookies: Experiment with different types of cookies like Chip Ahoy or Biscoff for the base.
- Add-ins: Incorporate ingredients like peanut butter or caramel for a twist.
Tips for Perfect Cheesecake Bars Every Time
- Room Temperature Ingredients: This ensures a smoother, lump-free cheesecake.
- Don’t Overmix: Mix just until ingredients are combined to avoid affecting the texture.
- Proper Cooling: Allow the bars to cool completely in the pan before chilling to set properly.
Storing and Enjoying Your Dessert
- Refrigeration: Keep covered in the refrigerator for up to 4 days.
- Freezing: Wrap bars well and freeze; thaw in the fridge before serving.
Frequently Asked Questions About Slutty Cheesecake Bars
- Can these bars be frozen? Yes, wrap them well and they can be frozen for up to 3 months.
- How long do they last in the fridge? Properly stored, enjoy them within 4 days.
- Are there any substitutes for Oreos? Yes, any similar sandwich cookie can be used in place of Oreos.
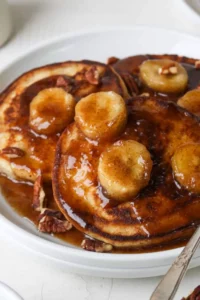
For those who love baking with chocolate chips, check out our Chocolate Chip Pancakes for a delightful breakfast treat that shares an ingredient with the slutty bars.
By following this guide, you’ll be well on your way to making Slutty Cheesecake Bars that are sure to be a hit at any gathering or as a special treat for yourself. Enjoy the process and the delicious results!